PGM IV - The ignition that doesnt want to Beta v1.2
Intro
I have thrown this up so a friend of mine can see where I am at with this job. It is just words thrown at a page with a loose frame work. I will edit this later and share it on social media when it is ready..

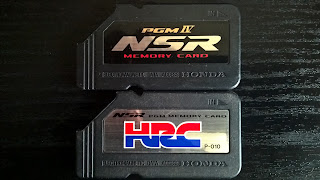
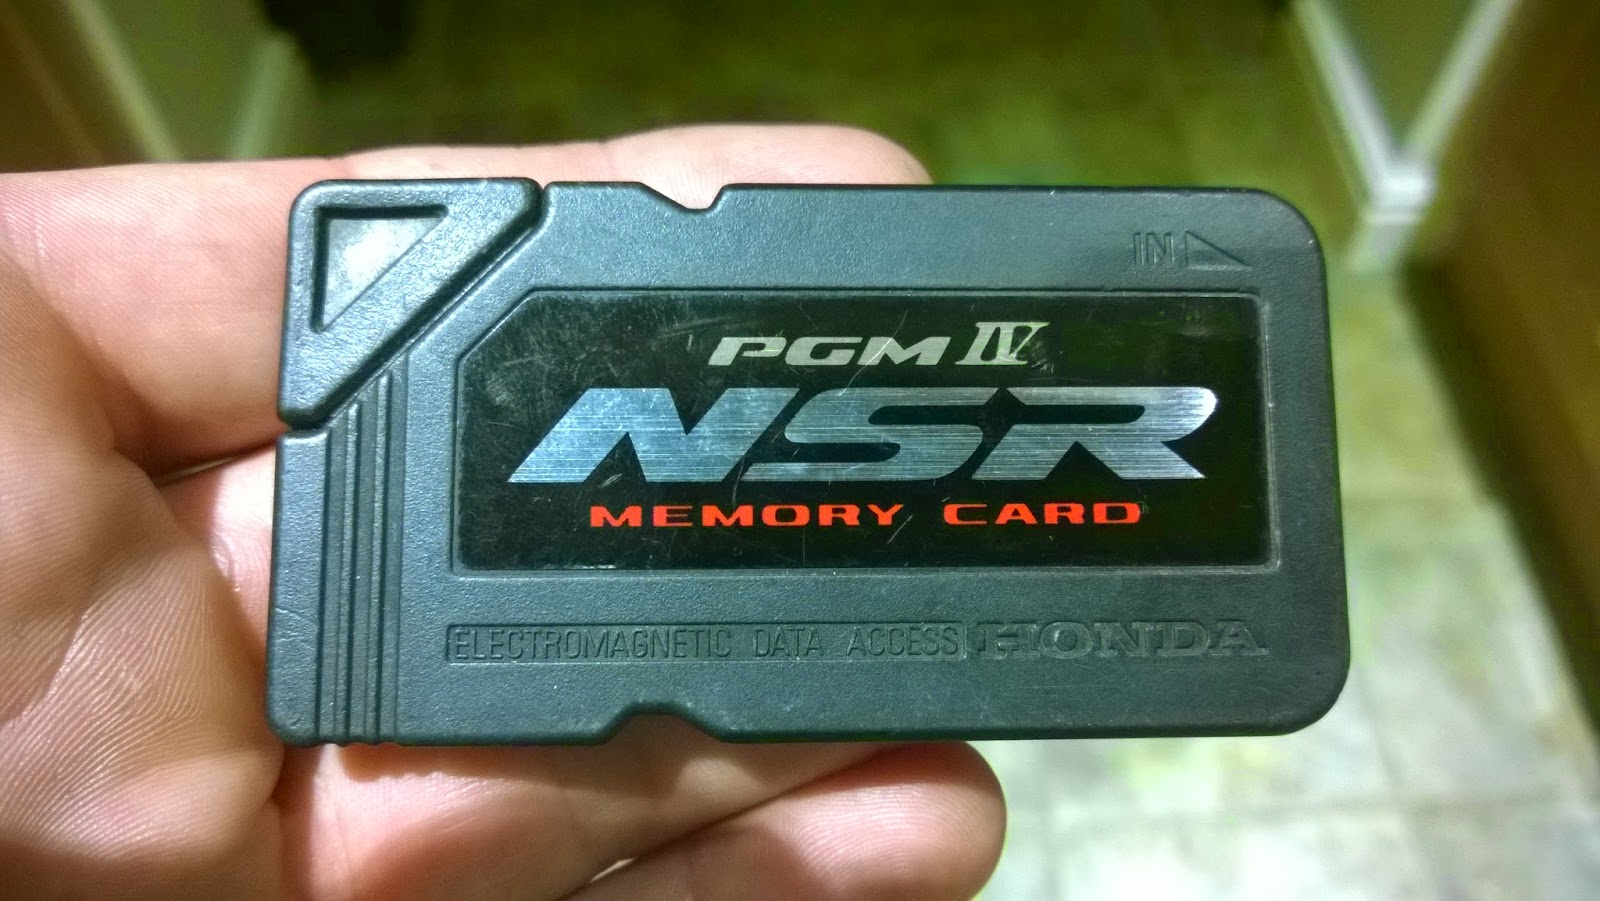
 After receiving the ECU back from Japan to have an HRC card coded to it, I took the bike for a test run starting with the OEM key card.
This went well with the little bike purring along nicely with laser sharp handling compared to my VFR800fi.
I opted to pull over and swap to the hrc card and the bike decided to not restart. This resulted in me having to hide the bike and walk back, thankfully a passing chap gave me a lift after 20 minutes walking and I could organise a mate of mine to help me out with his trailer. This must have been before I got my van; Wow that was ages ago!
The bike has sat on the naughty step ever since, with other more important projects getting done over the fancy but bloody annoying NSR. I did have a couple of looks at it but nothing in depth up until recently.
Searching the Internet for common leads; I spotted a chap who was featured in Tyga performances FAQ with the same symptom but no solution was provided bar to check the obvious and you can't really fix the ECU's. Not a great sign.
Looking into the ECU
 Once other more common faults had been illuminated (fuses, kill switch, do I have fuel, is there a spark, is there even a god?) , I decided to pop the ECU open to see if there was something obviously wrong with it.
This seemed to make a good suspect as I had no spark on either cylinder and I had noticed a ticking noise coming from that area during tick over once but not knowing the bike, I had thought it was just an oddity of the bike.
I soon noticed that the two long orange parts pictured had ruptured which looked like a good suspect for failure. I now had the issue of identifying the parts and somehow replacing them.
I now had a thread to follow but this was a risky game. I know my way round basic electrics but I
was now stumbling into the unknown so had to be very careful.
For a start I couldn't identify these components and to make matters worse they were resined in which would add some extra challenge to get at them.
I tried to find a circuit diagram for the ECU but unsurprisingly Honda hadn't shared that information.
A lot of time on google didn't help much other than identifying a few components it could be.

I was now reasonable happy that these were a Metallised polyimide capacitor, The 400 part most likely refers to its max voltage and 1.5k refers to its capacitance.
One thing I struggled with was that the normal translation of this was in pico farads however it was clear that this would be wrong as the capacitors I could find in this range were 10mm long, mine were 25mm long. I ended up settling on micro farads which resulted in a Metallised polyimide capacitor 1.5k uf 400 volts that was 25mm long coming up on a search. I found a supplier and ordered two at a very low cost.
Depotting and changing the capacitors
There are lots of way to depot a circuit board. You can use chemicals but they often remove labels from components which doesn't help when you are working blind like I am.
Another method is to heat the potting compound with a heat gun then carefully dig it out. This was less than ideal but looked like my only real choice.
The heat didn't melt this potting compound but I did find it softened it. I couldn't apply too much heat or I would risk softening solder joints which would not be a good thing.
 I first worked around the capacitors themselves which are closely mounted with resistors along side them so this took a very long time. I then extended out a bit before going hunting for fasteners for the PCB. There was no evidence of fasteners on the back of the ECU box bar one screw on the top right. I dug this out and removed it along with the earth wire that attaches to it. This is the only area where back casing is visible under two bent over transformers so I dug around there then followed the edge of the boards all the way round. Once this was freed I could start to carefully work round the edge trying to lift the board. The only real area I could get purchase on was under the plugs and the top right corner.
Very slowly the board started to lift. I worked around it, careful not to over stress the PCB till it finally came free with a satisfying tearing of potting material releasing the case.
The potting compound on the back of the glossy PCB came off in large chunks as there were very few components here holding it in place. The whole process took hours of patient work.
Once I was here it took be around 10 minutes to desolder and remove the old capacitors and then insert the replacements.
Sorting the wire splice
Whilst I waited for the above capacitors to turn up I replaced the wire splice with heavier wires. I suspected that the light weight wires I had previously used had caused an resistance which had killed my ECU in the first place. I triple checked I hadn't got it wrong whilst I was there but it was rewired the same as I had previously.
Bad earth?
As I had suspected my work had caused the issue I also wondered if I had somehow upset or used the wrong green earth wire. I checked the earth and it was showing very low resistance in both configurations and tested from various points in the wiring.Test
Satisfied I had checked and rechecked everything I had done I restored the bike to running condition and attempted a test run. The bike's display showed everything was okay in both OEM and HTC modes but still no spark.
Further invest
What was interesting was that the bike appeared to be working fine with no indication of a problem bar just not running. I decided to look further whilst the bike was together.Fuse box
Whilst doing a general invest (for what felt like the 70th time) I spotted that one of the fuses, when touched, would kill the power to the ECU. A closer look showed that its contact had cracked so wasn't applying full pressure to the fuses spade connector. I replaced it with another female spade connector I had in the tool box and the problem went away. This was pretty exciting stuff but was most likely caused during previous investigation when I cleaned the fuse box terminals. It was a fault for sure but wasn't the case here.RC valve
The ECU on this bike performs more tasks than just the ignition. It also controls the RC valves too so I thought I would see what kind of functional checks I could do to see if this was working or not. On power up the stepper motor isresists all outside inputs but with power off it can be moved. If I manually move it with power off it automatically moves to closed when powered back on.
A quick sanity check online brought up this:
250cc.com
"That's exactly what it does , when the bike is not running and you turn the ignition on the powervalve motor will set itself . If it is in the correct position when it was last turned off it will not move the next time you turn it on . If you manually move the motor off its preferred position and turn the ign on you will see that it resets itself .
When the bike is running they will move again once the revs are high enough."
So the RC valve is working correctly which means that this is another region of the ECU which is working fine. Funnily enough this is the part that usually breaks!
Pin check
The last thing I could think to do with the ECU fitted was to perform a pin check on all of its terminals cross referenced to the circuit diagram I have.
Below is the two tables of information I compiled with comments on the right.
Black block
Starting from upper left corner to bottom left corner then right
one to repeat pattern.
#
|
Wire
|
On
|
Off
|
Notes
|
1
|
Yellow Red
|
5.04V
|
0
|
Throttle sensor, RC
valve
|
2
|
Blue Green
|
0.04V
|
0
|
Throttle sensor, RC
valve, temp sensor
|
3
|
Light green
|
3.55V
|
0
|
RC valve sensing line
3.56 Lo 2.4 Hi
|
4
|
Yellow Green
|
0.75V
|
0
|
Throttle sensor pickup
4.16 open 0.75 closed
|
5
|
Green Blue
|
4.73V
|
0
|
Temp sensor
|
6
|
Green pink
|
5.20
|
0
|
Oil switch
|
7
|
Green white
|
5.29
|
0
|
Side stand switch Up 0.6
down 5.29
|
8
|
Red blue
|
13.18
|
0
|
Card in ignition switch
|
9
|
Light green red
|
0.13
|
0
|
Neutral sensor 0.13 N 5.23v
in gear
|
10
|
White black
|
0
|
0
|
Kill switch 5.28v off
0v on
|
11
|
Green
|
0
|
0
|
Common earth
|
12
|
White yellow
|
0
|
0
|
Pulse generator pulses
0.01v on kicking over
|
13
|
Black red
|
13.10
|
0
|
lock
|
14
|
White blue
|
0.01
|
0
|
Pulse generator pulses
0.02v on kicking over 0.04 ign on
|
White block
Starting from upper left corner to bottom left corner then right
one to repeat pattern.
#
|
Wire
|
On
|
Off
|
Notes
|
1
|
Pink white
|
13.26
|
0
|
Carb Solenoid power #1
(tested at green block con’)
|
2
|
Pink Blue
|
13.30
|
0
|
Carb Solenoid power #2
(tested at green block con’)
|
3
|
Blue red
|
0
|
0
|
Lock 5.30 sent to
unlock
|
4
|
Pink green
|
Speed sensor
|
||
5
|
Yellow
|
0.01
|
0
|
Pulse generator power
supply presumably
|
6
|
Red green
|
0.07
|
13.88
|
Main relay
|
7
|
Yellow green
|
0
|
0
|
Tacho display Kicked 0.02
|
8
|
Black white
|
13.26
|
0
|
Ignition common.
|
9
|
Pink
|
13.22
|
0
|
Oil pump.
|
10
|
White red
|
0.01
|
0
|
RC valve+ motor Kicks 0.04
ign on. Increases when oper’
|
11
|
Black white
|
13.26
|
0
|
Ignition common.
|
12
|
White
|
0.01
|
0
|
RC valve- motor Kicks 0.04
ign on. Increases when oper’
|
13
|
Black blue
|
0.01
|
0
|
#1 rear coil Kicks 0.04
ign on. no change turn over
|
14
|
Black yellow
|
0.01
|
0
|
#2 front coil
|
15
|
green
|
0
|
0
|
Common earth kicks 0.02
ign on
|
16
|
Green orange
|
0.01
|
0
|
Common coil Kicks 0.04
ign on. no change turn over
|
Everything looked like it was doing its job with various on off 13 volt signals (healthy battery 12v) and a few low voltage signals thrown in to keep me on my toes.
What stood out though was the pitifully low pulse generator signals which were barely registering. I don't know what voltage these should be but 0/01 volts isn't enough. Another thread to follow but where was the break down for this one?
This is as far as I have got so far. I will update this when I get to poke around some more.
As the year (2019) draws to a close other projects have taken priority for now so the NSR has been loosely rebuilt and moved inside where it at least looks pretty.

Facebook proves useful
It's near the end of September 2025 and a chance encounter on Facebook, when I was surposed to be doing something more productive, I am reconnected with 2 stroke race labs and I see they just fixed a very familiar fault.....
Comments
Post a Comment