Posts

Showing posts with the label brasso

Getting the right peg down (shiny, shiny)

Image
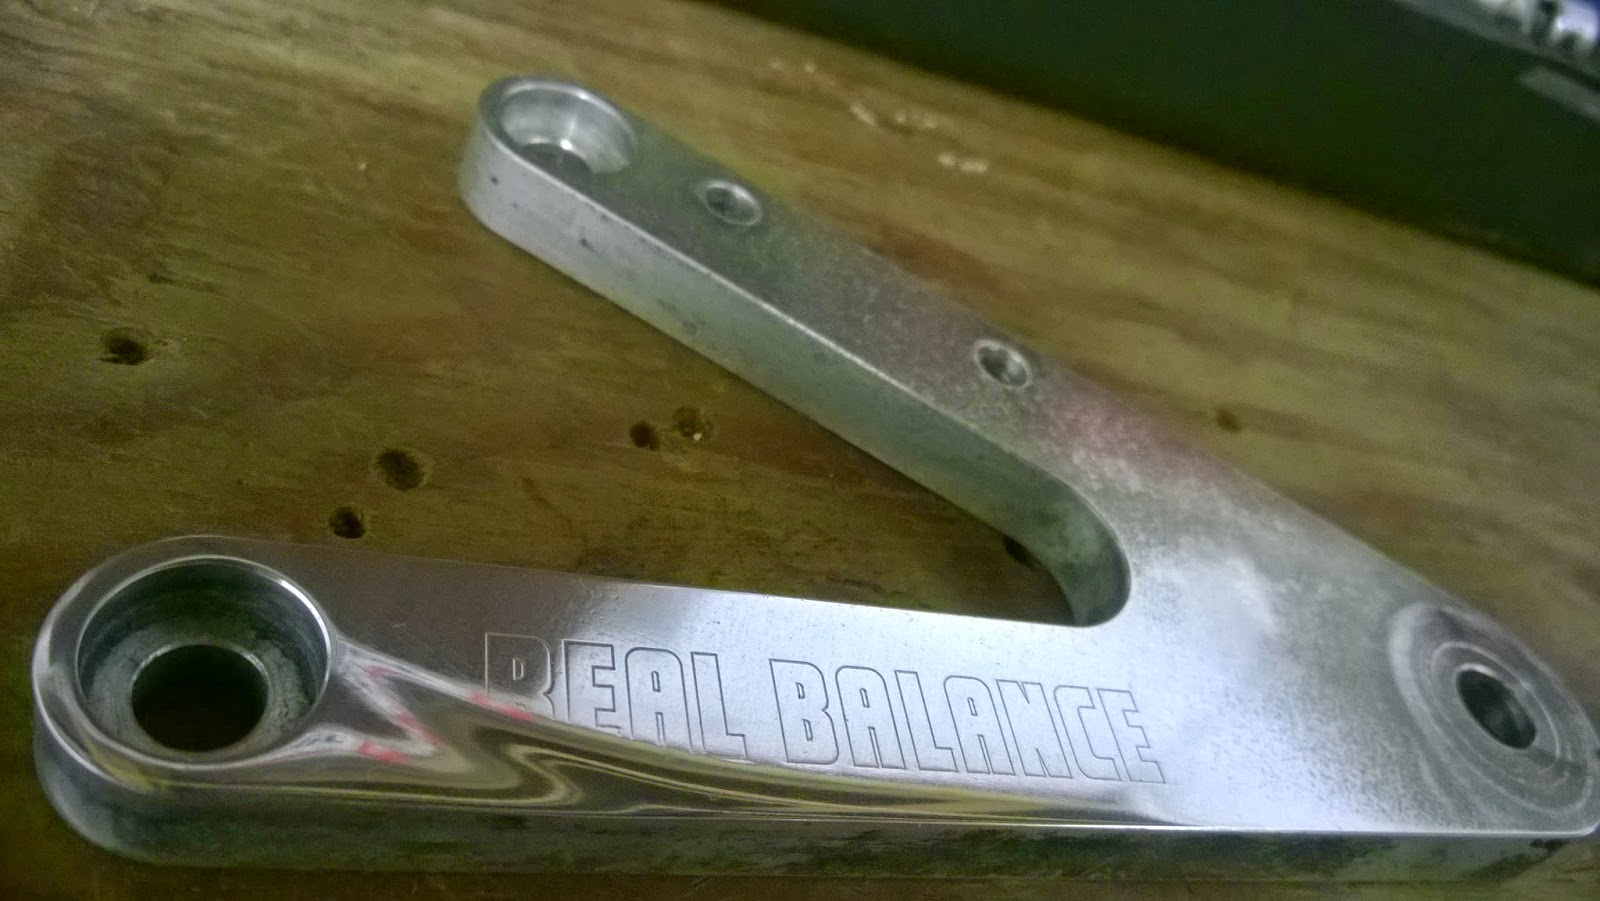
If you already read  Shiny bits shiny (pt. 1 of 100)  this blog entry won't be full of many twists or turns. Or will there? After the painfully long experience of polishing the left rearset, I finally got round to sorting out the right. Polishing wasn't my only job here though as this side also features the rear brake (as if you didn't know) but on the pluss side there isn't a heel plate, saving my some polishing at least. I had managed to remember to pick up some Autosol this time as well so the polishing process would be allot easier that the usual wet and dry system I had used on the left. I am away from my  main computer and seem to have saved all of the most recent pictures on there. So save this one starting image on the right hand side I have nothing to show for the work I have done. I'll update this in September with all of the images. The starting place is the same as before: Strip down the foot rest hangar, clean it up and work at removing...

The wonderful world of wiring

Image
During the run up I had noticed that I had some rather funky goings on with my indicators. My fronts were permanently on only going out when that sides indicator was selected and the rears were flashing on the wrong sides. that was if they worked at all as they were pretty intermittent. As I was stripping down the bike I took a look at the wiring under the tail unit. All the wiring was connected up correctly yet I was still getting a back to front indication.  I disassembled all the connections A took the time to polish the little brass connectors to reduce resistance in the system and put it all back together again. I tried swapping the wiring round, leaving the common earth as it is and swapping the live wires. Success!  Everything worked as it should but why only when the wiring was plugged in incorrectly?  This was baffling for 10 seconds longer than it aught to be when I realized the indicators had just been installed on the wrong sides by the importer. So ...

Shiny bits shiny (pt 1 of 100)

Image
One of the nice bits of restoration is that not all of the jobs that need doing require you to spend hours scouring the internet for advice and parts. One of these jobs is surface finish restoration. The downside of surface finish restoration is it is time consuming, not very interesting and results in some serious "wankers cramp". It is however important and when finished quite rewarding. I elected to have a go at the left side rearset first, so went about removing, then disassembling it.  This rearset was not only corroded but had clearly been set up badly in the past, allowing the gear selector tie bar to rub against the hangar resulting in a deep gouge. So with needle files I smoothed this out then went through the grades of wet and dry from 100 to 8000 to make it look less ugly. There was no real need to go through all of the grades like that as I was going to have to do the whole hangar later but I wanted to see if this was worth keeping. New rear set...