Shiny bits shiny (pt 1 of 100)
One of the nice bits of restoration is that not all of the jobs that need doing require you to spend hours scouring the internet for advice and parts. One of these jobs is surface finish restoration.
The downside of surface finish restoration is it is time consuming, not very interesting and results in some serious "wankers cramp". It is however important and when finished quite rewarding.
I elected to have a go at the left side rearset first, so went about removing, then disassembling it.
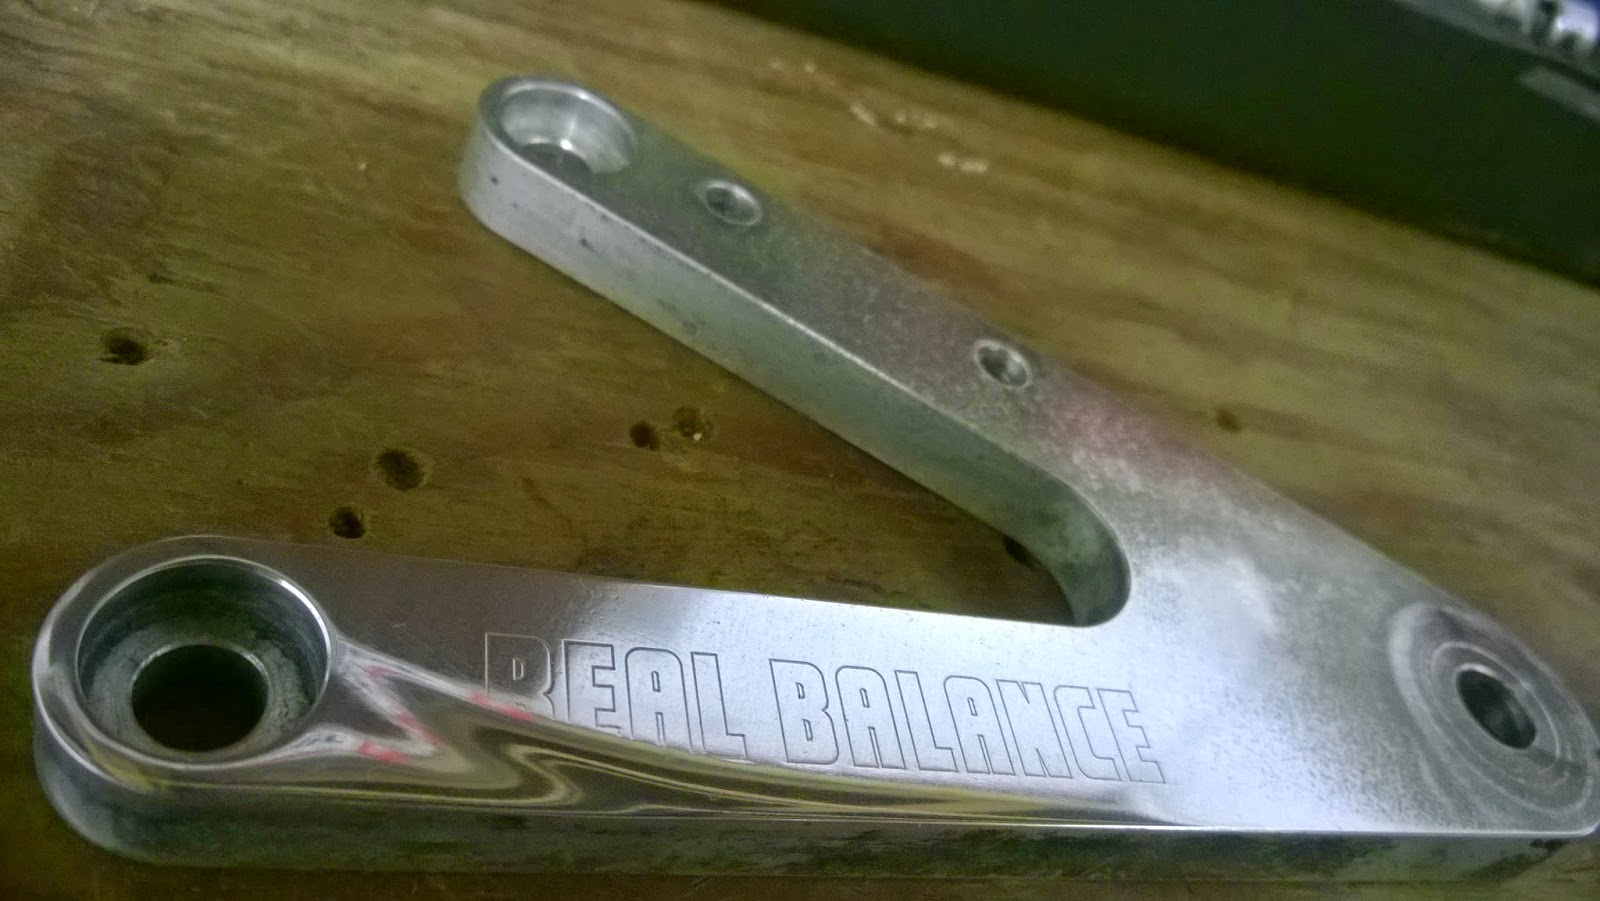
This rearset was not only corroded but had clearly been set up badly in the past, allowing the gear selector tie bar to rub against the hangar resulting in a deep gouge. So with needle files I smoothed this out then went through the grades of wet and dry from 100 to 8000 to make it look less ugly.
There was no real need to go through all of the grades like that as I was going to have to do the whole hangar later but I wanted to see if this was worth keeping.
New rear sets can be picked up from £100 so it was a consideration to simply replace them altogether saving allot of work. Conversely I could restore these Real Balance rearsets that I had not heard of before and seemed like a nice Japanese oddity that was worth saving. Oh and it saved me a load of money (remember I'm trying to keep this cash cow manageable) which was nice.
Going back through the wet and dry grades, I went over the whole surface of the hangar this time to bring them back up to their original shine. About now I was starting to wish I was using rubbing compound and a drill and I had only really just started!
I gave the peg a quick going over on the end where it had picked up a few scuffs but left the knurled portion alone save for brushing the dirt out of it.
The gear lever had some nasty seems from when it was formed. I removed these with a file and a Dremel with a grinding stone on it for the awkward bits. With these seems flattened off I went over this with the wet and dry along with the tie bar.
The heel plate, like the lever, looks original with its satin finish. I chose to remove the scratches then polish it to a brushed finish as I didn't want this part to look to shiny as that would look a bit odd on a sports bike.
This is all quick to describe but that sort of hides the hours of effort that are required to do each little bit. It was worth it though as you can see from the image below it looks a hundred times better. I almost rubbed the Real Balance logo off completely but it is still visible just about. I may engrave this deeper another day but there is a good chance I'd just make a mess of it so chances are I will leave it as it is.
Just one more rearset to go but I might save that for another day...


Comments
Post a Comment