Posts

Showing posts with the label Honda

Lighter, Cooler, Faster?, Stronger

Image
Everything looks better in Carbon fiber Well not exactly a correct statement as I have seen plenty of bikes ruined with carbon effect decals and the like but it is hard to deny that a good bit of carbon fiber here and there helps make things look pretty exotic. As it happens I decided to spank Jap4performance 's website before coming home so had lots of shiny carbon fiber bits to fit to my bike. Some of it is very complicated and well made by Tyga performance. Other bits are fairly straight forward but look substantially better than the original. There was only one panel I had to drill to get it to fit other than that they were all straight swaps. This one isn't too wordy as the pictures do the talking. The stock clutch cover is pretty cool as it is with it's Honda racing logo.  This will be staying in my kit box with the rest of the part removed. Clutch pressure plate looks like new after a quick clean. The Tyga cover looks great and w...

I got Hose

Image
Water cooling is cool, if you are an engine, but what is uncool is manky old cooling hoses. Enter super cool blue (which is a cool colour) SAMCO cooling hoses! I had ordered a full SAMCO hose kit for the NSR with the HRC conversion front hose from JAP4performance along with some nice, shiny Tyga performance parts. The hoses were to arrive seperately decause the custom hose had to be made special but they proved to be very slow coming with the initial excuse being 'they had already sent one' changing to 'they hadn't made one yet'. This continued for a year before Gavin from Jap4Performance sent me a genuine HRC hose with the standard SAMCO kit as a good will gesture to tide me over till SAMCO pulled their fingers out. Changing hoses isn't rocket science: You just take a hose off and replace it with one of the same shape. If you haven't drained your coolant you might want to do that too. The new hoses don't just look good. The old hoses were sta...

Reed all about it

Image
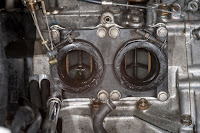
Order I had ordered carbon reeds for the NSR quite a while ago so it was nice to be organised for a change.  So with a little time on my hands I decided to pop the cages out and change these over. I had already had the carbs off previously for cleaning and had only placed them in situe so was no drama removing them. The carb rubbers followed, taking care to release the torque evenly as I have heard horror stories of engines blowing from air leaks caused my bent inlet rubbers. With these off the reed cages are no longer secured to the engine so can be pulled off as well, along with (most of) their paper gasket.  Now I was confronted with this which initially looked pretty horrific. One side shiny and like new as it aught to be and the other brown with a streak of brown and dirt down the inlet. Images of water ingress, corroded bearings and seized bottom end rushed through my mind but then a bit of logic seeped in and I turned the engine till I could see the bearing i...

Back in the garage

Image
Back in the garage After 8 months being bike free I am finally back in the garage getting some work done. During my time away I had subdued my need to play with motorcycles by buying bits for them. As a result I had a rather large collection of bits in my bags and waiting for me when I got home. Sharing garage time with the VFR800  I have started to dig through the long list of tasks I had set for these machines. Top of the list would be anything that was easy to do before the bike goes off  for respray and wouldn't need taking off again straight away for that task. Front brake master cylinder One item I had picked up in the states was a radial front brake master cylinder off of a late model CBR1000 fireblade. I would have loved to put some Brembo porn on here but as this was only $60 with everything bar the reservoir I couldn't really justify the extra. Plus the levers were a better match and the brake light switch is the same with the Nissin unit....

Parting is such sweet sorrow

Image
As the year wound down I had to face facts. I was going to have to put the bikes to bed and start packing for my impending year long trip to the States. Yep 1 year away from tinkering with motorcycles only sweetened by a big helping of freedom and as many beers as I could fit down my neck. Any plans I might have had to buy a bike out there were squashed when I took the 'un like me' decision of buying something sensible instead. So I bought Solar panels for the house. Anyhoo before I left, I did stretch the budget a bit and manage to pick up some rather lovely performance parts, ready for me to come home. The first and most exciting purchase is a set of Ethos design GP pipes. With a stainless system and carbon cans that both exit on the right, they look stunning and should give a nice performance boost over the restrictive stock system. Second hand, these weren't allot cheaper than a new set of Tyga pipes but for the quality and "look at me I have cool old tu...

Getting the right peg down (shiny, shiny)

Image
If you already read  Shiny bits shiny (pt. 1 of 100)  this blog entry won't be full of many twists or turns. Or will there? After the painfully long experience of polishing the left rearset, I finally got round to sorting out the right. Polishing wasn't my only job here though as this side also features the rear brake (as if you didn't know) but on the pluss side there isn't a heel plate, saving my some polishing at least. I had managed to remember to pick up some Autosol this time as well so the polishing process would be allot easier that the usual wet and dry system I had used on the left. I am away from my  main computer and seem to have saved all of the most recent pictures on there. So save this one starting image on the right hand side I have nothing to show for the work I have done. I'll update this in September with all of the images. The starting place is the same as before: Strip down the foot rest hangar, clean it up and work at removing...

Flywheel fun

Image
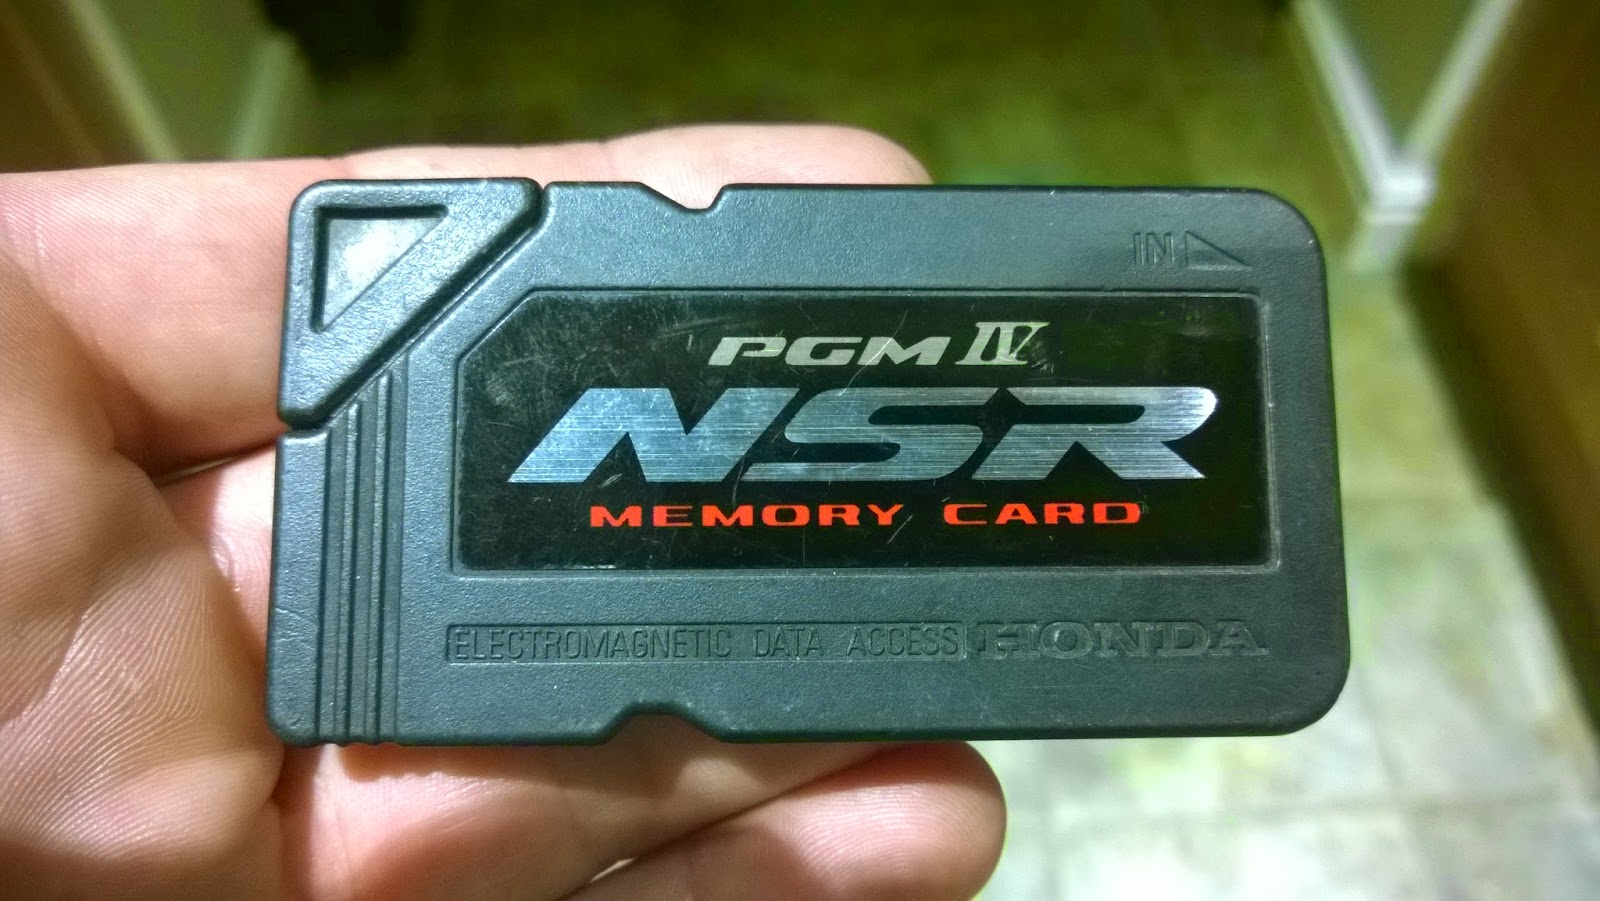
One of the coolest bits about the NSR250 MC28 is the smart card PGM IV ignition. One of the least cool bits about the NSR250 MC28 when it comes to tuning is the smart card PGM IV ignition. All you need is an hrc P-030 card and the bike is fully derestricted. With a wire splice you even get your lights back. Unfortunately hrc cards are like hens teeth and even if you did find one, the speedo becomes one big temp gauge so making the bike even less popular with the law on the road. Clearly the thing to do here is to bin the PGM IV unit and buy a programmable ignition unit like the one offered by  Zealtronic . Plug it in, book some dyno time and happy days your bike isn't only derestricted, it now has an optimized ignition curve with exup valve opening times to match! But that does away with the smart card and that was one of the coolest things about the MC28 wasn't it? The HRC card might be an idea for the future but for now there are a few things I can do. First off w...

A catchy title

Image
I have already mentioned early on in the break down process that the boot/ tool box lid catch was an issue. Well in the seance that it wasn't there that is. I made a quick temporary fix using tie wraps that worked perfectly well but for obvious reasons I wanted something a little better. Still with no original part available I opted to fabricate something out of some old bits of aluminium that I found lying about. It didn't need to be a work of art as it's all a bit out of sight but it needed to be functional. One of the scraps I had was an L bracket with two holes along one edge and a slotted hole in one corner of the other edge. The other piece was a straight piece with a long angle cut out of one corner, it was also base coated green unlike its plain ally, L shaped buddy. Both pieces had rounded corners and the L bracket had two sprung anchor nuts with it that would prove to be useful. The L bracket just so happened to have its two holes drilled exactly where the ...

Silver bits silver

Image
You know when you can't see something but you know it's there and you know its not quite right? Well that's how I felt about my NSR's subframes. They were far from ghastly but they were spotted with corrosion from where wiring looms had rubbed and heavy handed toolmanship had chipped away at the old paint. So having raided Halfords for some paints I took all of the subframes off of the bike. I have seen and liked the Tyga clock stay and front fairing subframe but I still decided to spray the originals. I have seen a forum post where someone managed to snap their Tyga clock stay during disassemble (sorry couldn't find a link), putting me off that a little and for the time being it was worth tidying up the original parts whilst I already had the paints out. The first job was to remove all of the corrosion and old paint. This I achieved with a couple of wire brush bits on the end of my drill and smoothed off with some wet and dry. With all of the parts off and ...

The wonderful world of wiring

Image
During the run up I had noticed that I had some rather funky goings on with my indicators. My fronts were permanently on only going out when that sides indicator was selected and the rears were flashing on the wrong sides. that was if they worked at all as they were pretty intermittent. As I was stripping down the bike I took a look at the wiring under the tail unit. All the wiring was connected up correctly yet I was still getting a back to front indication.  I disassembled all the connections A took the time to polish the little brass connectors to reduce resistance in the system and put it all back together again. I tried swapping the wiring round, leaving the common earth as it is and swapping the live wires. Success!  Everything worked as it should but why only when the wiring was plugged in incorrectly?  This was baffling for 10 seconds longer than it aught to be when I realized the indicators had just been installed on the wrong sides by the importer. So ...